
How to Import & Bulk Upload Contacts into iPlum
iPlum makes it easy to bring your existing business contacts into your iPlum account.
You can import contacts using a CSV or Excel file, connect your Google Contacts, or connect your Microsoft Outlook Contacts directly to iPlum. Imported contacts become available in iPlum Contacts and can be accessed from your iPlum account and app.
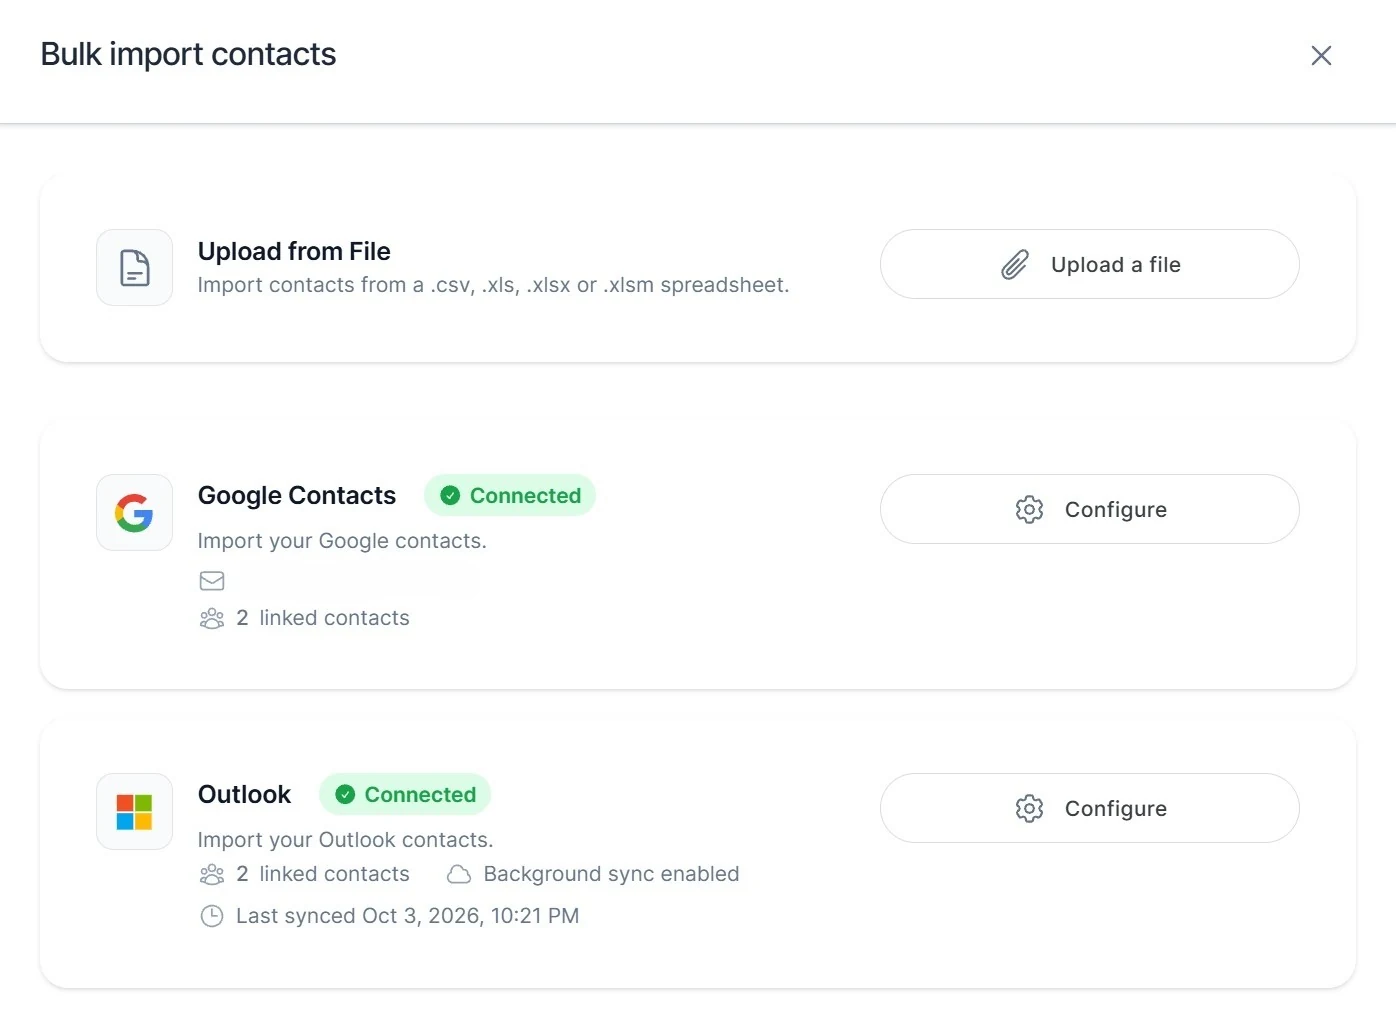
What Are the Ways to Import Contacts into iPlum?
iPlum provides three options for importing contacts:
Upload from File
Bulk import contacts using a .csv, .xls, .xlsx, or .xlsm spreadsheet.
This option is useful when you already have a contact list in a spreadsheet or are moving contacts from another system.
See step by step below.
Google Contacts Integration
Connect your Google account directly to iPlum and import your Google Contacts.
You can choose which contact fields to import and decide whether the iPlum or Google version should take priority when an imported contact matches an existing iPlum contact by phone number.
For complete setup instructions, see:
How to Connect & Import Google Contacts into iPlum
Outlook Contacts Integration
Connect your Microsoft Outlook account directly to iPlum and import your Outlook Contacts.
The Outlook integration also supports Background Sync, allowing iPlum to automatically synchronize selected contact changes from Outlook, including new contacts, updates, and deletions.
For complete setup instructions, see:
How to Connect & Import Outlook Contacts into iPlum
How Do I Bulk Upload Contacts from a File?
Follow these steps to import multiple contacts using a spreadsheet:
Step 1: Open iPlum Contacts
Log in to the iPlum web portal and open Contacts.
Select the option to Bulk Import Contacts, and then choose Upload from File.
Step 2: Download the Contact Template
Download the iPlum contact import template.
Do not change the header row in the template.
Add each contact on a separate row below the header. If a contact has multiple phone numbers, you can enter multiple numbers as supported by the template.
Step 3: Enter the Required Contact Information
The required fields are:
- First Name
- Phone Number
Other contact fields are optional.
Step 4: Format Phone Numbers Correctly
When editing the CSV template in Microsoft Excel or Google Sheets, format the phone-number column as Text.
Enter each phone number with its country code and a + sign.
For example, a U.S. or Canadian number should use this format:
+14081231234
When necessary, use an apostrophe before the number in your spreadsheet to preserve the + sign:
'+14081231234
Step 5: Upload the Completed File
Return to Bulk Import Contacts → Upload from File and upload your completed spreadsheet.
After the file is processed, iPlum will provide the import results. If individual contacts contain errors, those contacts may fail while valid contacts can still be imported.
File Upload Instructions:
How Do I Download My iPlum Contacts?
Log in to the iPlum web portal and open Contacts.
Use the Download option at the top of the Contacts page to export your iPlum contacts.
Which iPlum Plans Include Contact Integrations?
Contact import, Google Contacts and Outlook Contacts integrations are available with iPlum Professional and Enterprise plans.

